
Shower channel · New
TileLine. The channel you do not see.
Frameless and tileable. Fully integrated into the floor, and after installation only two narrow lines remain visible.
Build-up
Everything that matters is already fitted.
Scroll: channel body, tile carrier and access cover come together.
The waterproofing membrane and the protective cover with membrane protection are fitted at the factory and included in the delivery. The protective cover serves as the height reference for the screed and is removed before waterproofing.
Optional: acoustic insulation element to decouple it from the building structure.
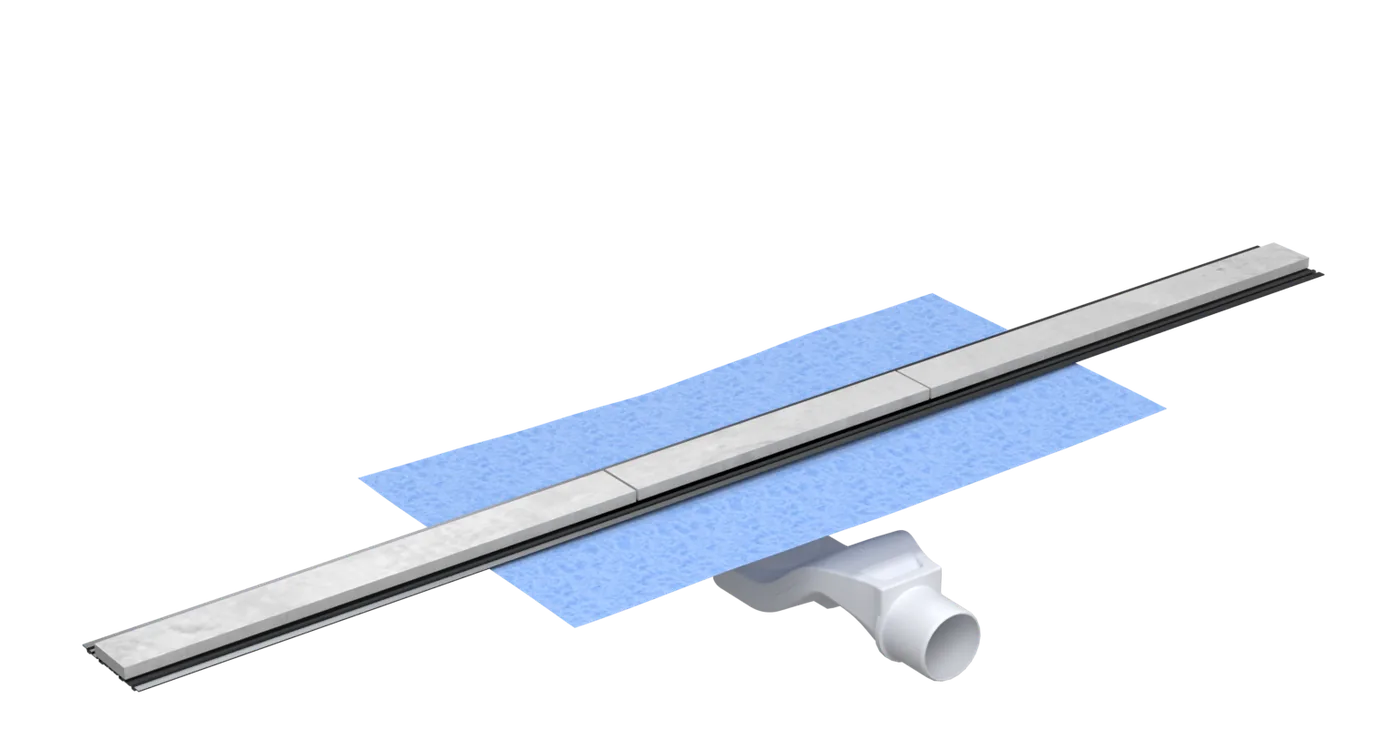
Technical data.
| Material | Stainless steel 1.4301 / V2A (AISI 304), tileable tile carrier |
|---|---|
| Lengths | 120 cm · 160 cm from stock, 80 and 100 cm as project lengths, can be cut to size on site |
| Build height | 60–100 mm, measured from the top of the sealing collar |
| Waterproofing | Waterproofing membrane fitted at the factory, connects to the bonded waterproofing system |
| Scope of delivery | Channel body, tile carrier, waterproofing membrane, protective cover with membrane protection |
| Accessories | Acoustic insulation element (optional) |
| Testing | abP, EN 1253 |
Ordering information.
4 variants: 120 and 160 cm from stock, 80 and 100 cm as project lengths.
| Item number | Size |
|---|---|
| LT16-H24L120E9 | 120 cm |
| LT16-H24L160E9 | 160 cm |
| LT16-H24L80E9 | 80 cm · project length |
| LT16-H24L100E9 | 100 cm · project length |
Identical for every variant: Surface Brushed anthracite · Material Stainless steel 1.4301 / V2A (AISI 304) · Outlet DN 50
Special lengths on request. Every channel can be cut to size on site.
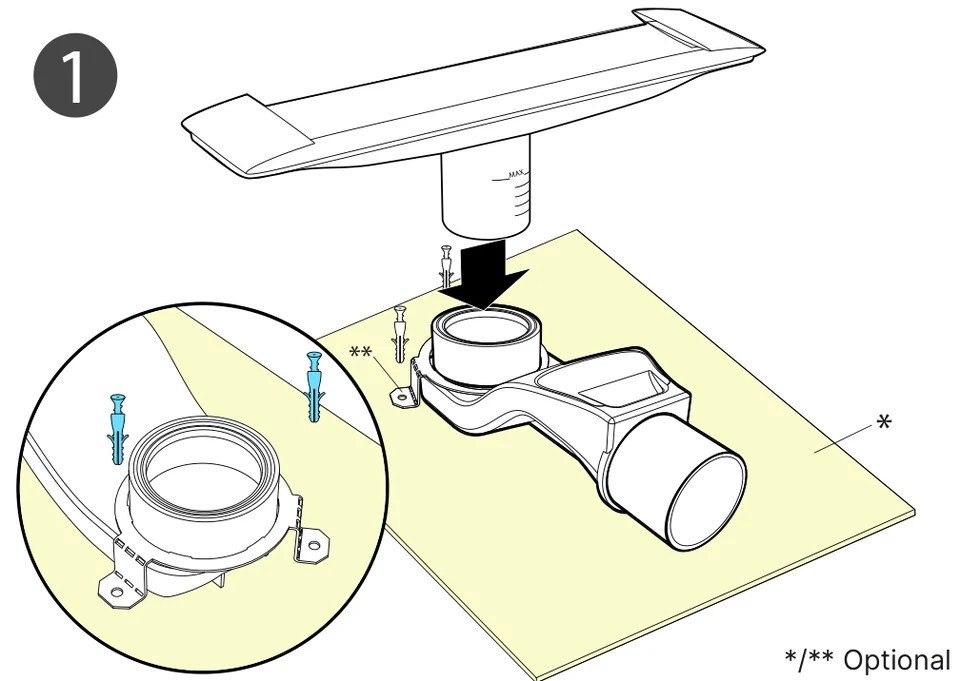
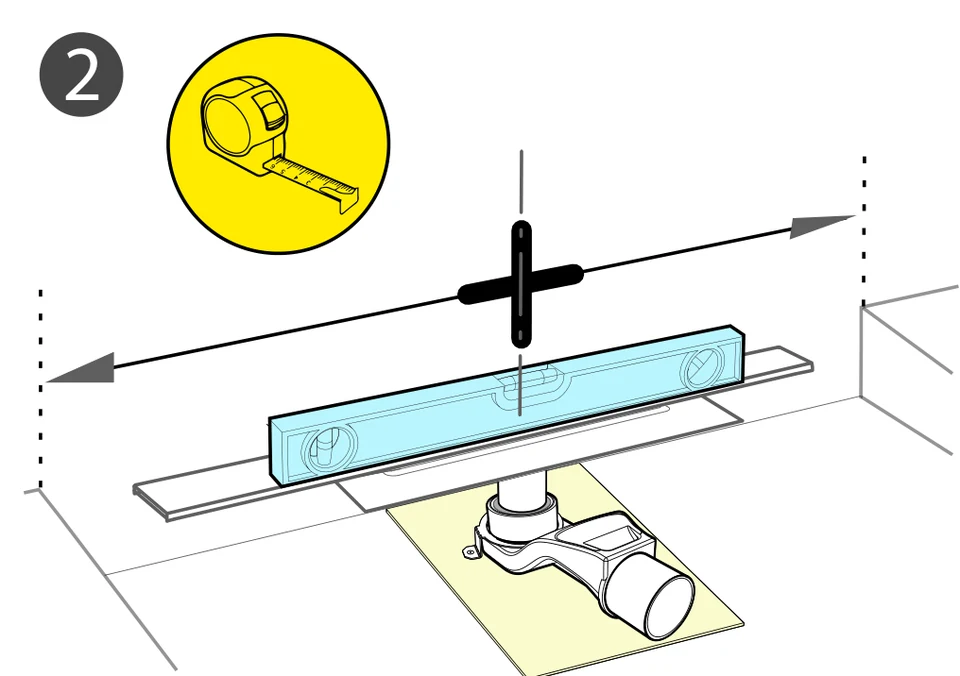
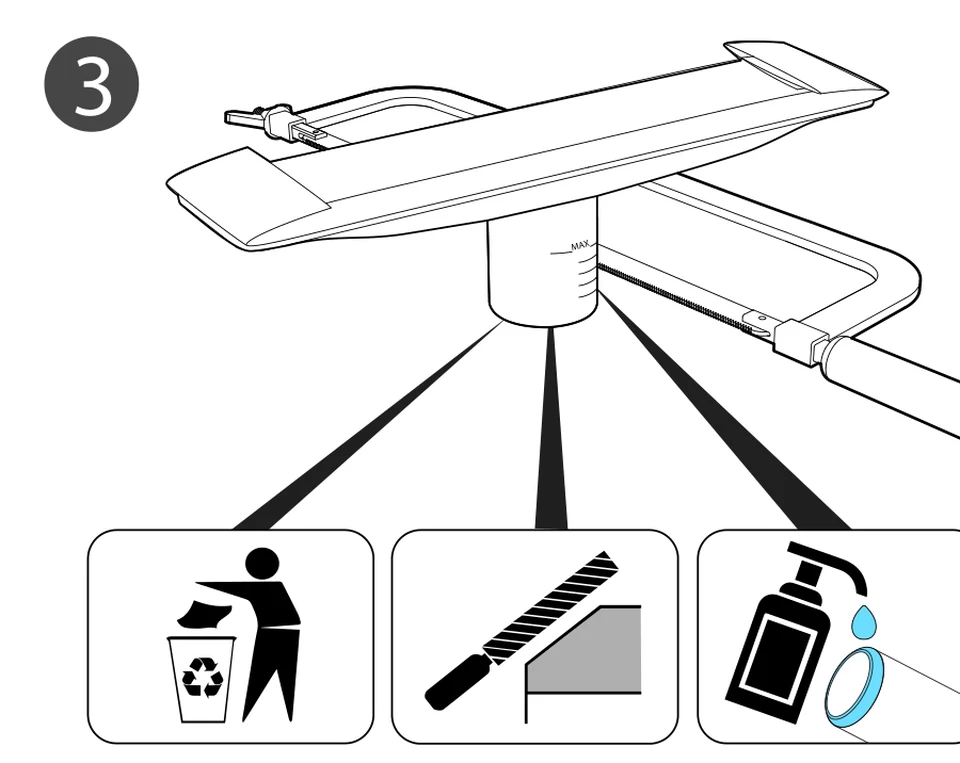
Installation in five steps.
The order follows the site: shell first, tile last.
The operations in detail.
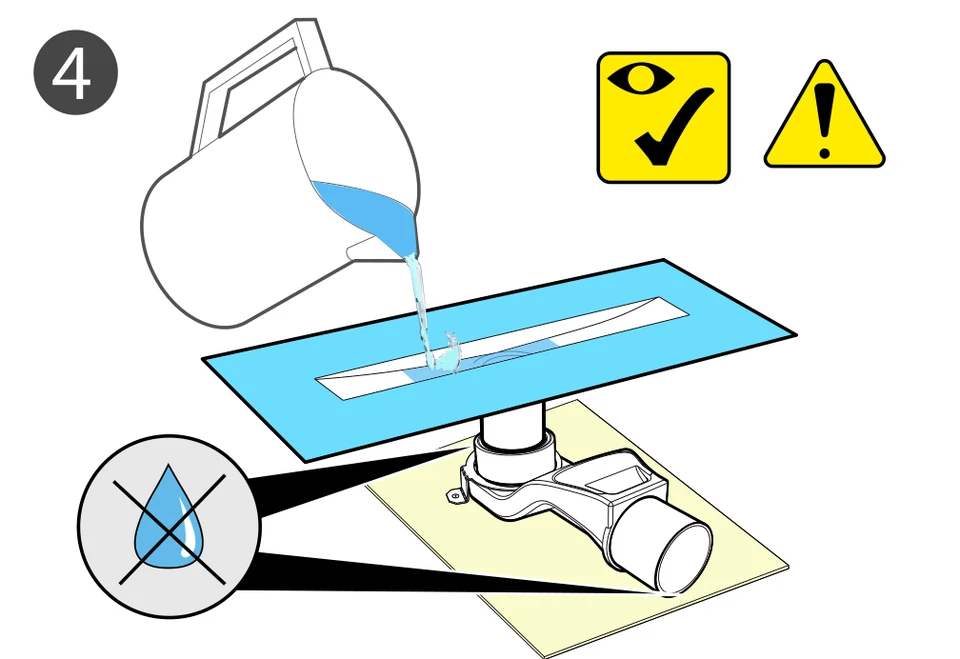
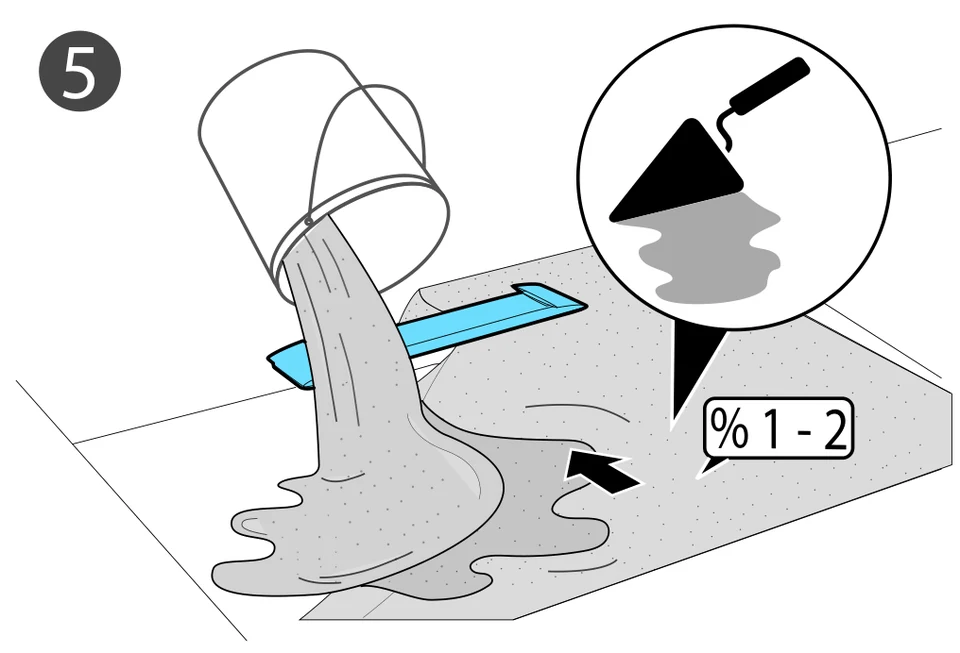
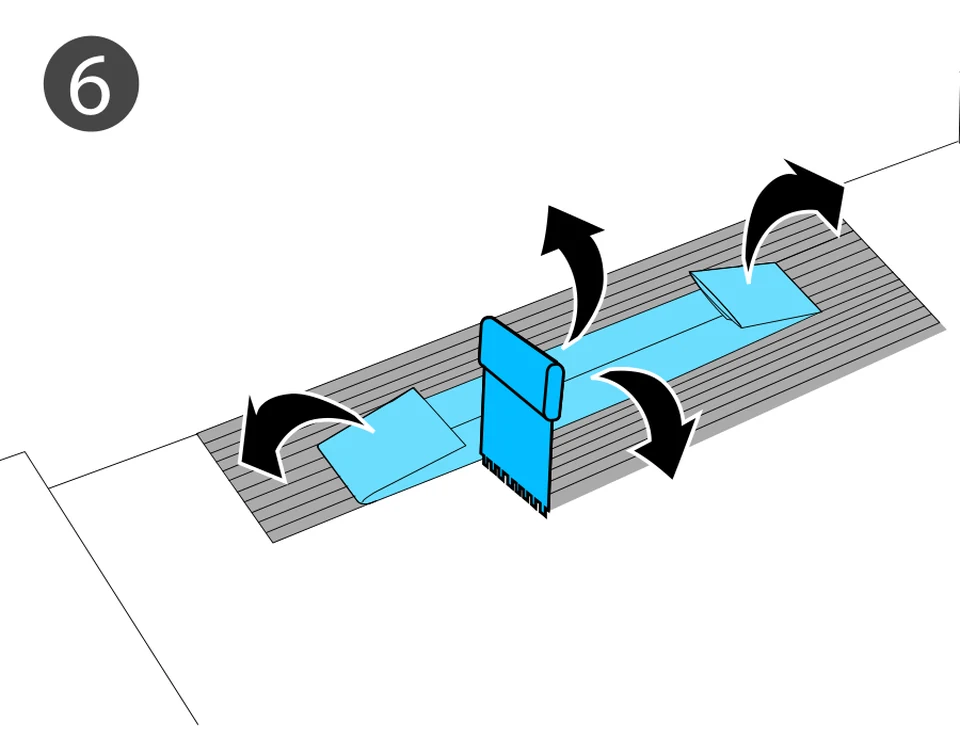
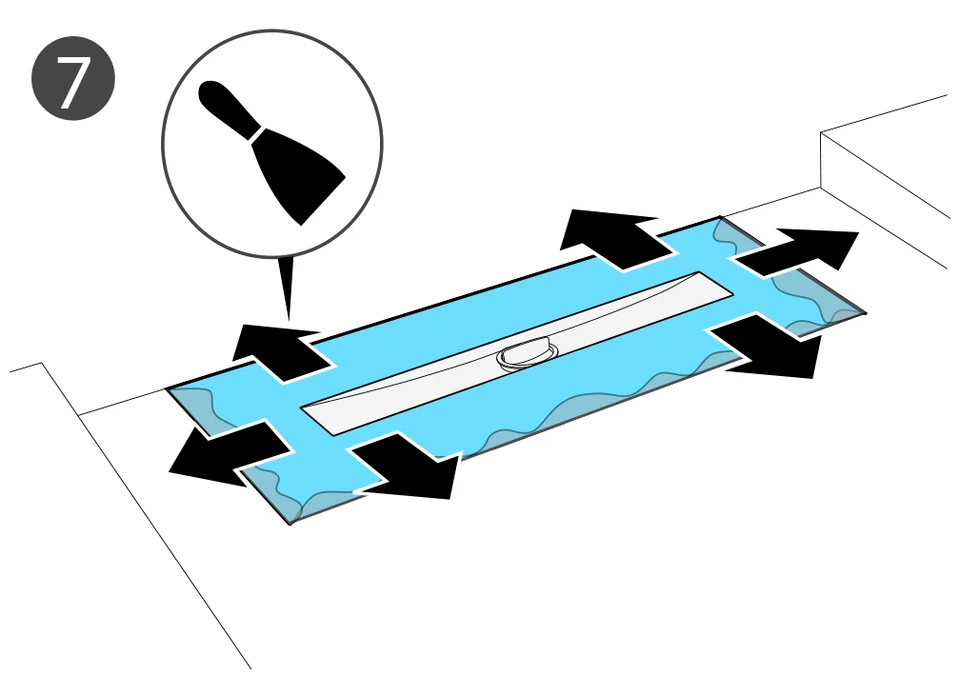
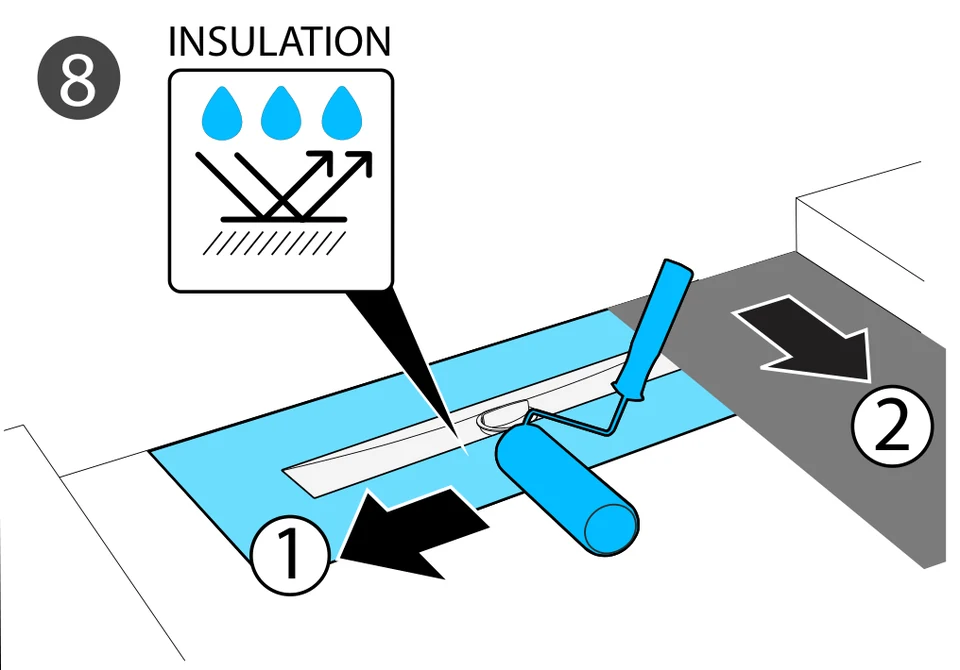
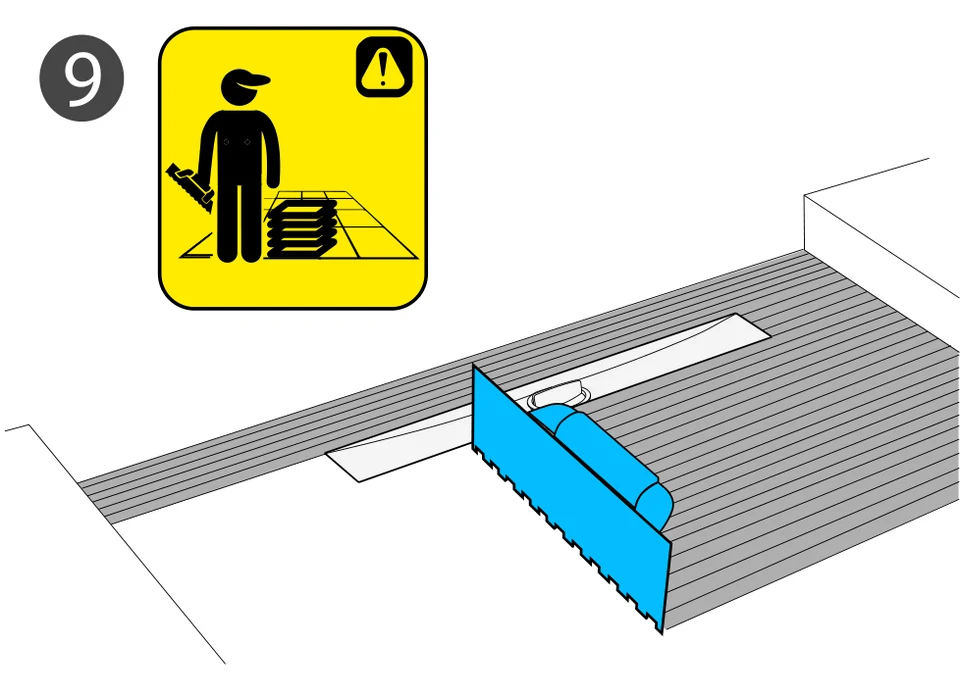
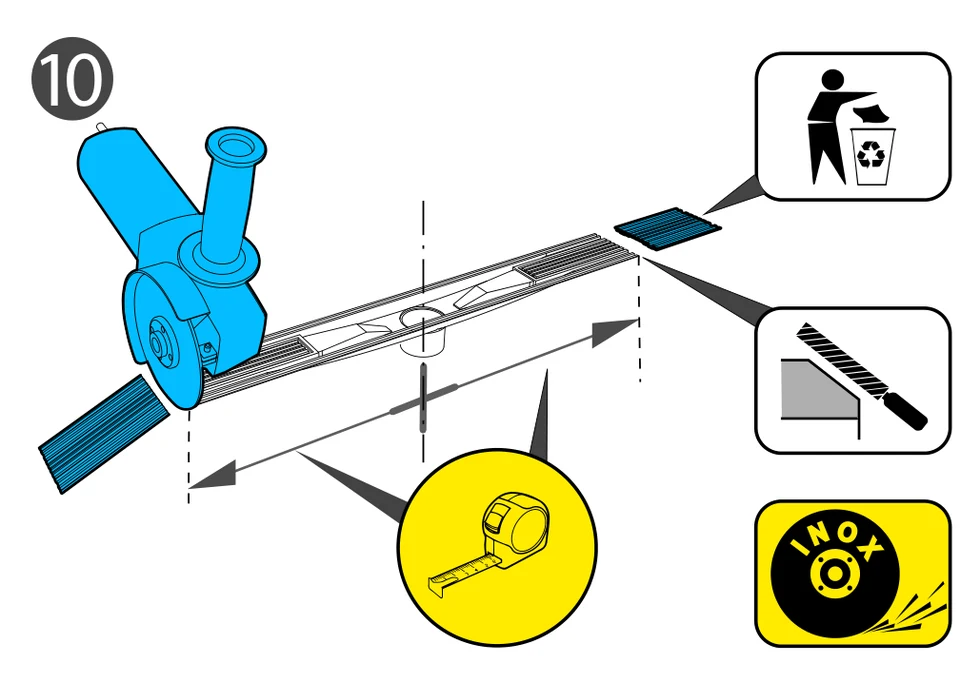
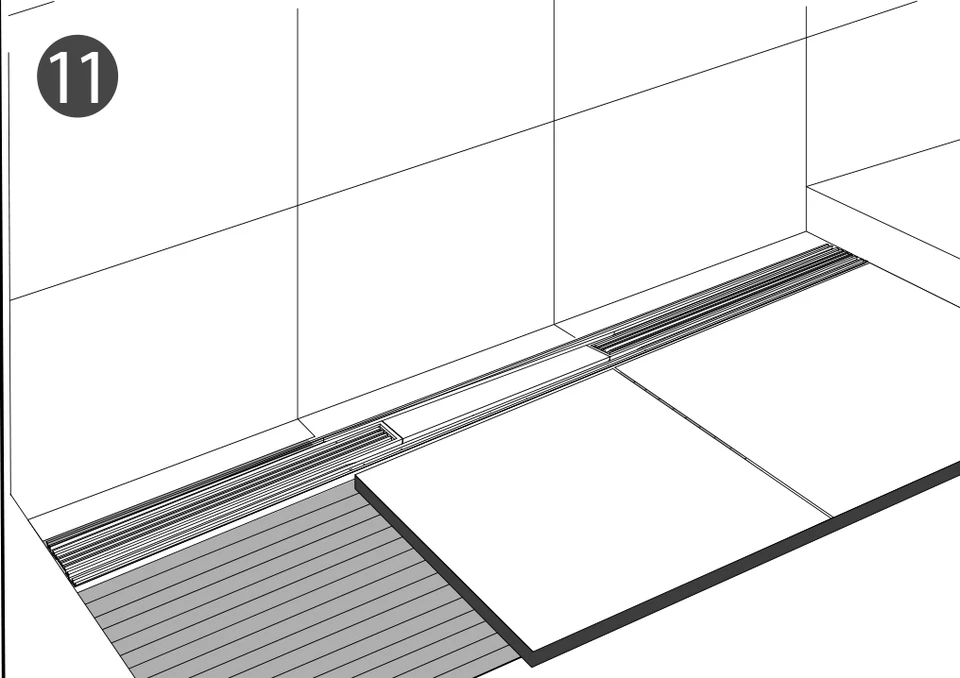
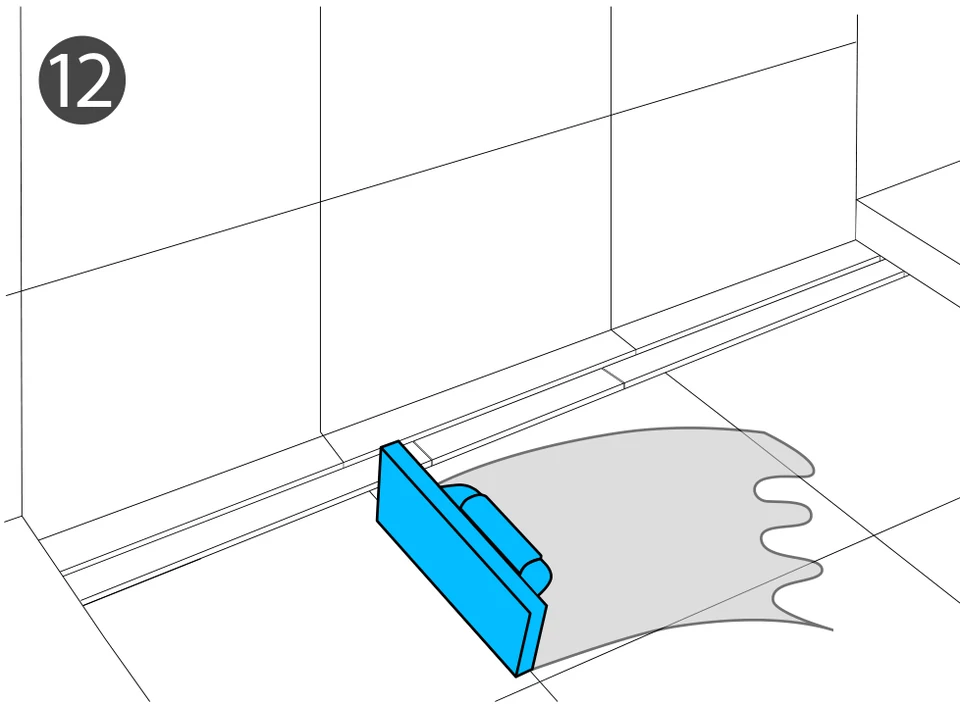
Twelve steps from the pipe connection to the finished joint. Click a step or let it run.
Frequently asked questions.
What is special about the TileLine shower channel?
TileLine has no visible frame. The tile carrier takes the floor tile, so after installation only the two narrow joints along the channel remain visible.
Which lengths are available?
120 cm and 160 cm from stock, 80 cm and 100 cm as project lengths. The channel can be cut to size on site.
Is TileLine suitable for bonded waterproofing?
Yes. The waterproofing membrane is fitted at the factory and is worked into the bonded waterproofing system. The channel is tested to EN 1253 and holds a German abP.
What is included in the delivery?
Channel body, tile carrier, waterproofing membrane and the protective cover with membrane protection. The protective cover is the height reference for the screed and is removed before waterproofing.
Is sound insulation available?
Yes, as an option. An acoustic insulation element decouples the channel from the building structure.
How is a TileLine item number put together?
LT16-H24L100E9 stands for the 100 cm channel; L120 and L160 are the stock lengths, L80 and L100 project lengths.
Specification text for tenders.
Ready to paste into your bill of quantities (German, as used in German tenders).
Duschrinne Fabrikat Gruen, Typ TileLine, oder gleichwertig, rahmenlos und befliesbar, bestehend aus Rinnenkörper aus Edelstahl 1.4301 (V2A), Materialstärke 2,8 mm, Oberfläche gebürstet, anthrazit PVD-beschichtet, mit Revisionsöffnung, herausnehmbarem Haar- und Schmutzfänger und 360° drehbarem Ablaufgehäuse, seitlicher Abgang DN 50, Aufbauhöhe 60–100 mm. Dichtmanschette und Bauschutzabdeckung werkseitig montiert, für Verbundabdichtung geeignet. Ablaufleistung 0,80 l/s nach EN 1253, abP-geprüft. Länge ____ cm (120 / 160), vor Ort kürzbar, weitere Längen auf Anfrage. Art.-Nr. LT16-H24L___E9.
Copy text